
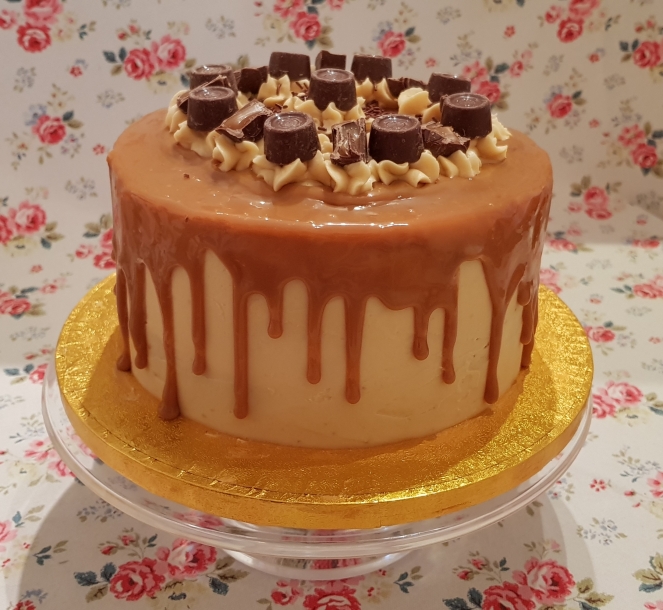
How amazing does this cake look?! I’m so pleased with how it turned out as its definitely the most complicated / elaborate cake I’ve made before. It was hubby’s birthday last Friday but he had to wait until Sunday for his cake to be made and even then he didn’t get any until Monday when he took it to work. I wanted to make something a little more challenging – he actually didn’t know what cake he was getting – but I’m glad I gave this a go. Its another recipe from Jane’s Patisserie – I can’t get over how many great recipes she has on her blog, you need to have a look!
Ingredients
Cake
- 400g Unsalted Butter
- 400g Light Brown Sugar
- 7 Large Eggs
- 400g Self Raising Flour
- 2tsp Baking Powder
- 4tbsp Milk
Buttercream
- 250g Unsalted Butter
- 600g Icing Sugar
- 175g Caramel (like Jane, I used the carnations caramel in a tin)
- Sea Salt
Decoration
- 200g Caramel (as above)
- Sea Salt
- Rolos
- Sprinkles
Obviously you need to start by making the cake sponge first. Preheat your oven to 180C / 160C Fan and grease and line three 20cm / 8inch with baking paper. I was a bit worried the oven temp was too low but it all worked out!
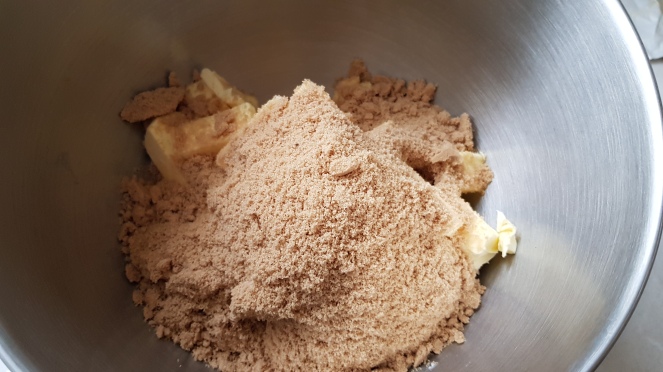
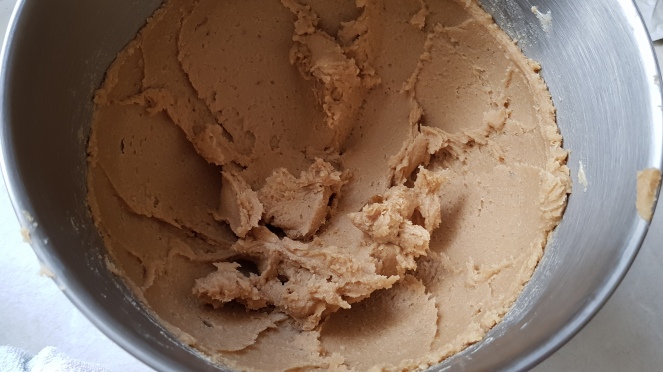
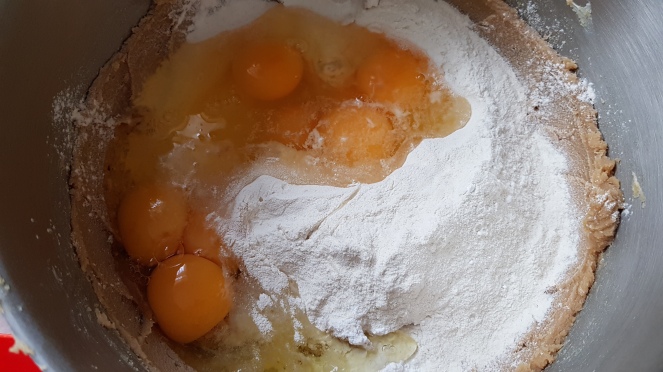
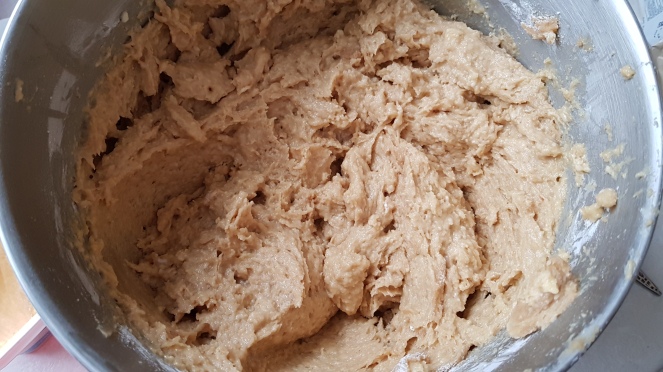
I’m not normally one to go with the creaming method but whilst this style of cake was all new to me I thought it safer to follow the instructions! First beat the butter and sugar together for a few minutes or until its light and fluffy before adding the flour, eggs and baking powder and mix until just combined. If the mixture is a bit thick (mine was), add a little of the milk a bit at a time – I don’t think I put enough in but its fine!
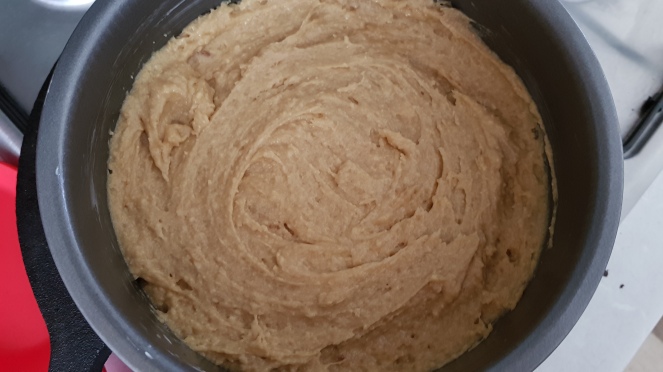
You need to divide the cake batter between the three tins (I actually weighed mine….) and flatten the top as best as you can. You’ll need to bake these for 25-30 minutes (mine took 27) and once they’re done take them out but leave in the tin for 10 minutes before turning onto a wire rack. Because I wanted my sponges to be as similar as possible I actually put them in the oven one at a time – I know, I must be crazy!
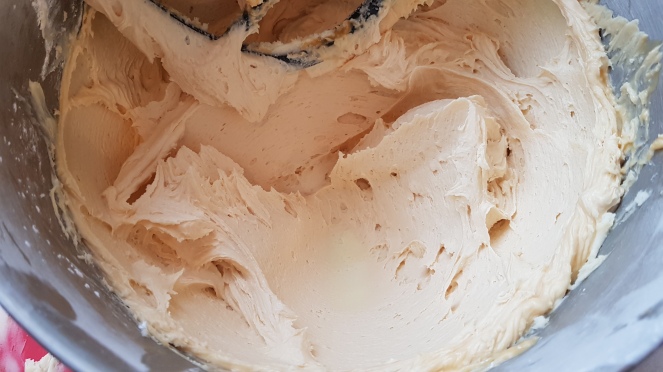
While the sponges are cooling or once they have cooled, you can make your buttercream. Beat the butter really well until its smooth before adding in the icing sugar a bit at a time (Jane recommends a third at a time) and beating for 5-6 minutes. It might seem quite stiff for a while but persevere! Add in the caramel (you will need the rest later if you get the standard 397g tin) and a pinch of sea salt before beating for another few minutes. Taste to check it tastes salty enough and add more if necessary.
Now you can assemble the cake! I had to even mine a little at the top where it had domed as my cakes always seem to do! Put the first layer on the plate or cake turntable (I had to buy one for this but it was definitely worth it) and add a little buttercream (Jane recommends about 2 tablespoons) and spread it before repeating with the second layer and then adding the third layer.
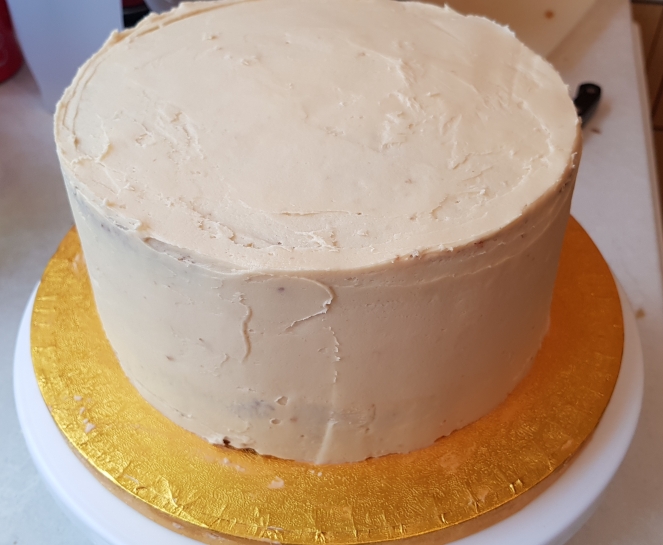
Spread the rest of the buttercream (you could keep a little back for the top later) onto the top and sides of the cake and smooth using a scraper, removing the excess, then put in the fridge for 10 minutes and repeat the last step. Ok so mine doesn’t look that smooth but you are about to cover it in caramel so I figured it would be fine!
With the leftover caramel, put into a heatproof bowl with a pinch of salt and beat it well before microwaving for 10 seconds. Pour this into a piping bag (I always use disposable ones) and go around the edges of the cake so the caramel drips down then just pour the rest on the top of the cake and spread until its all covered. Put it back in the fridge again for 15 minutes so it sets a little.
When you are ready you can decorate! I had leftover buttercream so I did the same as Jane and piped it onto the top before I added rolo’s and sprinkles – mine wasn’t quite so professional looking though!
I was so pleased with the cake when I’d finished and hubby was made up. It was definitely worth the time and honestly wasn’t as complicated as the above might suggest, just lots of steps. The cake was nice and light and a lovely flavour – hubby only just managed to nab a slice for me and his parents it was that popular. You should definitely give this cake a try!
